How to make an AI explainer video for YouTube.
A practical long-form AI video creation workflow: plan shots from the narration, keep a consistent visual language, generate images in bulk, animate only the scenes that need motion, preview the edit, and export an organized project.

One visual system. Dozens of different scenes.
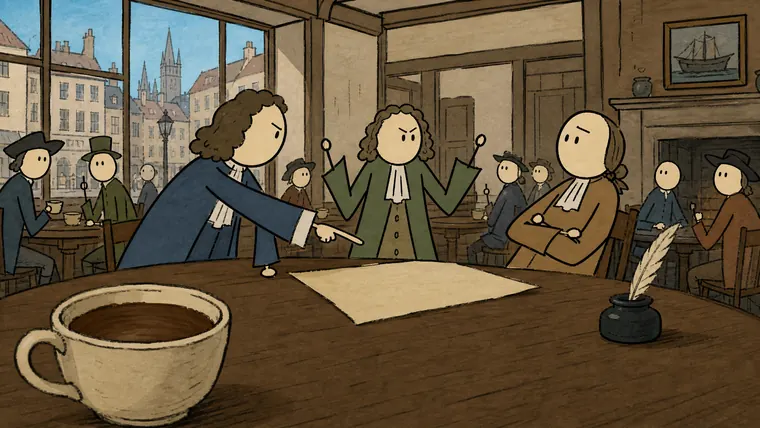
The Coffee project keeps a handmade historical style while deliberately varying composition, scale and information. Consistency should preserve the visual language — not repeat the same shot.


A repeatable AI video production workflow for explainers.
Start with narration timing
Turn the script into visual beats. A subtitle cue is not automatically a new shot; change visuals when the explanation benefits.
Lock the visual system
Define line quality, palette, character simplicity, text treatment and recurring props before the batch begins.
Generate images in bulk
Create the prepared image sequence together, then review repetition, lettering and weak compositions before paying for video generation.
Animate selectively
Use motion for the hook, important demonstrations and shots where movement adds information. Keep most explanatory scenes as efficient stills.
Use hard cuts for clarity
Explainers usually benefit more from useful information changes than decorative transitions.
Preview and export
Check timing and gaps inside the Studio, then export an organized Premiere-ready project for final sound and polish.
Explainer video questions.
Can AI create a full long-form explainer video?
Yes. The reliable approach is to treat the video as a planned sequence of shots tied to narration timing, not as one giant prompt.
Should every explainer image be animated?
No. Animate the shots that genuinely benefit from motion. Strong still images with hard cuts are often clearer and cheaper.
How do I keep an explainer style consistent?
Define the visual system first, reuse approved references where identities recur, and review the whole image batch before animation.